

Installing correctly is essential for protecting the rim, preventing scratches, ensuring clip stability, and maintaining aerodynamic performance. Whether you're adding new aero wheel covers, replacing a damaged cover, or reinstalling after service, proper installation helps confirm a secure fit and avoid unnecessary damage.
This guide provides a precise, step-by-step installation method for Tesla Model Y and Model 3 wheel covers. It covers removal, installation, alignment, mounting ring checks, and how to avoid mistakes that lead to loose clips or improperly seated covers. Follow each step carefully to keep your wheel covers in perfect condition.
Why Proper Wheel Cover Installation Matters
Tesla aero wheel covers are designed to improve efficiency and enhance the vehicle's appearance. But the installation process matters far more than many owners realize. A wheel cover that is not installed correctly can:
- Cause scratches around the spokes
- Create gaps near the center cap
- Increase noise at higher speed
- Reduce aerodynamic benefit
- Fall off during driving
- Damage the clips or the wheel surface
- Interfere with access around the tire or lug nut area
When installed properly, wheel covers fit snugly, follow Tesla's wheel design, and stay secure even during long-distance driving.
Tools You Need Before Installing
You don't need special tools, but having the following helps:
- Clean cloth (to avoid scratching the rim)
- Soft glove (optional, protects your fingers when pressing clips)
- A clear view of the spoke pattern for alignment
- Good lighting
- A clean mounting ring
No tools are required to lock or remove the wheel cover. Every step can be done by hand.
Step 1 — Prepare the Wheel and Cover
Before you install:
-
Clean the wheel surface
Dust or small stones around the rim can interfere with the clips. -
Check each clip
Confirm none are bent, cracked, or loose. -
Inspect the mounting ring
Many aftermarket and Tesla aero covers use a ring inside the cover. Make sure it is seated properly. -
Note the tire valve location
The cover must align with the valve opening. -
Separate the center cap if needed
Some wheel covers allow you to remove or replace the center cap before installing.
If the cover looks damaged, it's better to replace it before attempting installation.
Step 2 — Align the Cover With the Wheel
Correct alignment ensures a proper installation. Look for these markers:
- Tire valve cutout
- Spokes that must match the wheel's design
- Clips that align around the edge
- Center ring position
Place the cover lightly on the wheel without pressing yet. Make sure the tire valve fits through the opening.
If it feels misaligned, rotate the cover slightly until it matches the wheel's form and spoke pattern.
Step 3 — Press the Wheel Cover Into Place
This step determines whether the cover stays secure at high speed.
How to press properly:
- Start at the top of the wheel.
- Use both hands and apply firm, even pressure.
- Move clockwise pressing clip by clip.
- Listen for multiple small clicks—this confirms each clip is engaged.
- Avoid pressing only at the center; always press near edges.
Important Notes
- If one clip refuses to lock, do not continue. Remove the cover and restart.
- Pressing the wrong point or forcing a bent clip can cause damage.
- Never strike the cover; a firm hand press is enough.
Step 4 — Confirm the Wheel Cover Is Fully Installed
Before driving, check the following:
- The cover does not rotate when you try to turn it by hand.
- The center cap sits completely flush with the wheel.
- No clip gaps are visible.
- The cover does not “pop” outward when pressed.
- The edge is even all around.
If anything feels loose, remove the cover and try again.
Testing takes only a few seconds and prevents issues like rattling or falling off.
Step 5 — How to Remove Tesla Wheel Covers Safely
Improper removal is a leading cause of clip damage.
Correct removal:
- Find the designated removal notch or gap near the tire valve or spoke.
- Insert your fingers gently.
- Pull outward slowly while supporting the cover with your other hand.
- Continue separating the clips in a circular motion.
- Do not yank or twist sharply.
What to avoid:
- Do not pull from the center cap.
- Do not pull from a random spoke area.
- Do not remove too quickly; this bends clip arms.
Removing correctly extends the lifespan of both the cover and mounting ring.
Installation Tips to Avoid Damage
Here are the most important tips Tesla owners should follow:
- Avoid scratching the rim by cleaning dirt before installation.
- Choose a clean surface to place the cover when handling it.
- Align carefully before pressing.
- Follow the step sequence—don't skip alignment.
- Confirm the clips before driving.
- Watch a short installation video if you prefer visual guidance.
- Share this method with anyone who helps install or remove your covers.
These small details prevent most installation-related issues.
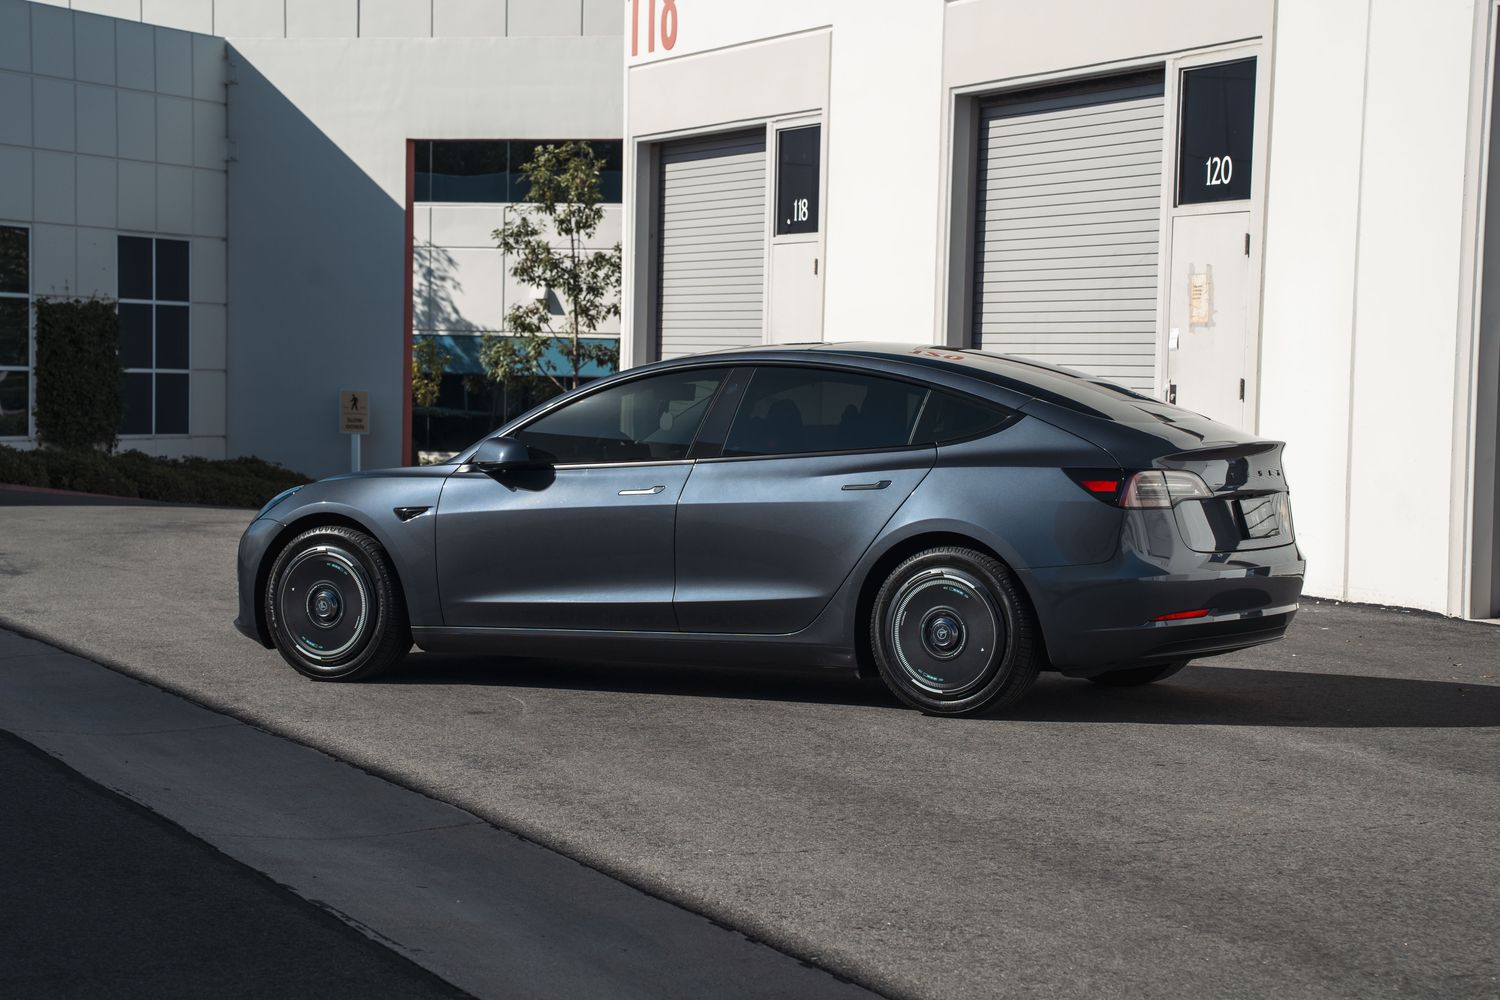
Special Notes for Model Y Owners
The Model Y uses aero covers that significantly impact efficiency. Proper installation:
- Reduces wind resistance
- Helps maintain range
- Prevents unnecessary noise
- Ensures stable performance at higher speeds
Because Model Y wheels are slightly larger and the aero wheel design is flatter, a secure clip lock is essential.
Special Notes for Model 3 Owners
Model 3 wheel covers have a tighter clip layout. This means:
- Installation must be precise
- Pressing each clip is more important
- Removal must be gentler to avoid bending
- A misaligned tire valve cutout will cause immediate fit issues
A properly installed Model 3 wheel cover feels extremely snug and produces no movement when pulled lightly.
Common Mistakes to Avoid
- Pressing the cover only at one point
- Forgetting to check for loose clips
- Not aligning with the tire valve
- Removing the cover too fast
- Installing when clips are dirty or damaged
- Ignoring small clicking sounds
- Using force on the center cap
- Rushing the installation
Avoid these mistakes to extend the lifespan of the cover and maintain secure fitment.
Final Checklist Before Driving
Before you continue your trip:
✔ Confirm clips
✔ Check alignment
✔ Ensure no scratches or rubbing
✔ Confirm center cap seating
✔ Spin the cover lightly by hand—should not move
✔ Confirm no edges stick out
If everything is flush and stable, the installation is correct.
Final Verdict — The Correct Way to Install Tesla Wheel Covers
Installing Tesla wheel covers for Model Y and Model 3 is simple when done correctly. The key steps—alignment, pressing clips in sequence, confirming a flush fit, and removing safely—ensure long-term durability and prevent issues like scratches, loose covers, or accidental loss.
- Enhances aerodynamics
- Improves aesthetic appeal
- Protects the wheel
- Maintains efficiency
- Stays secure even at high speed
Follow this guide step by step, and your wheel covers will remain firmly attached, fully aligned, and free from damage.
Ready to Upgrade Your Tesla?
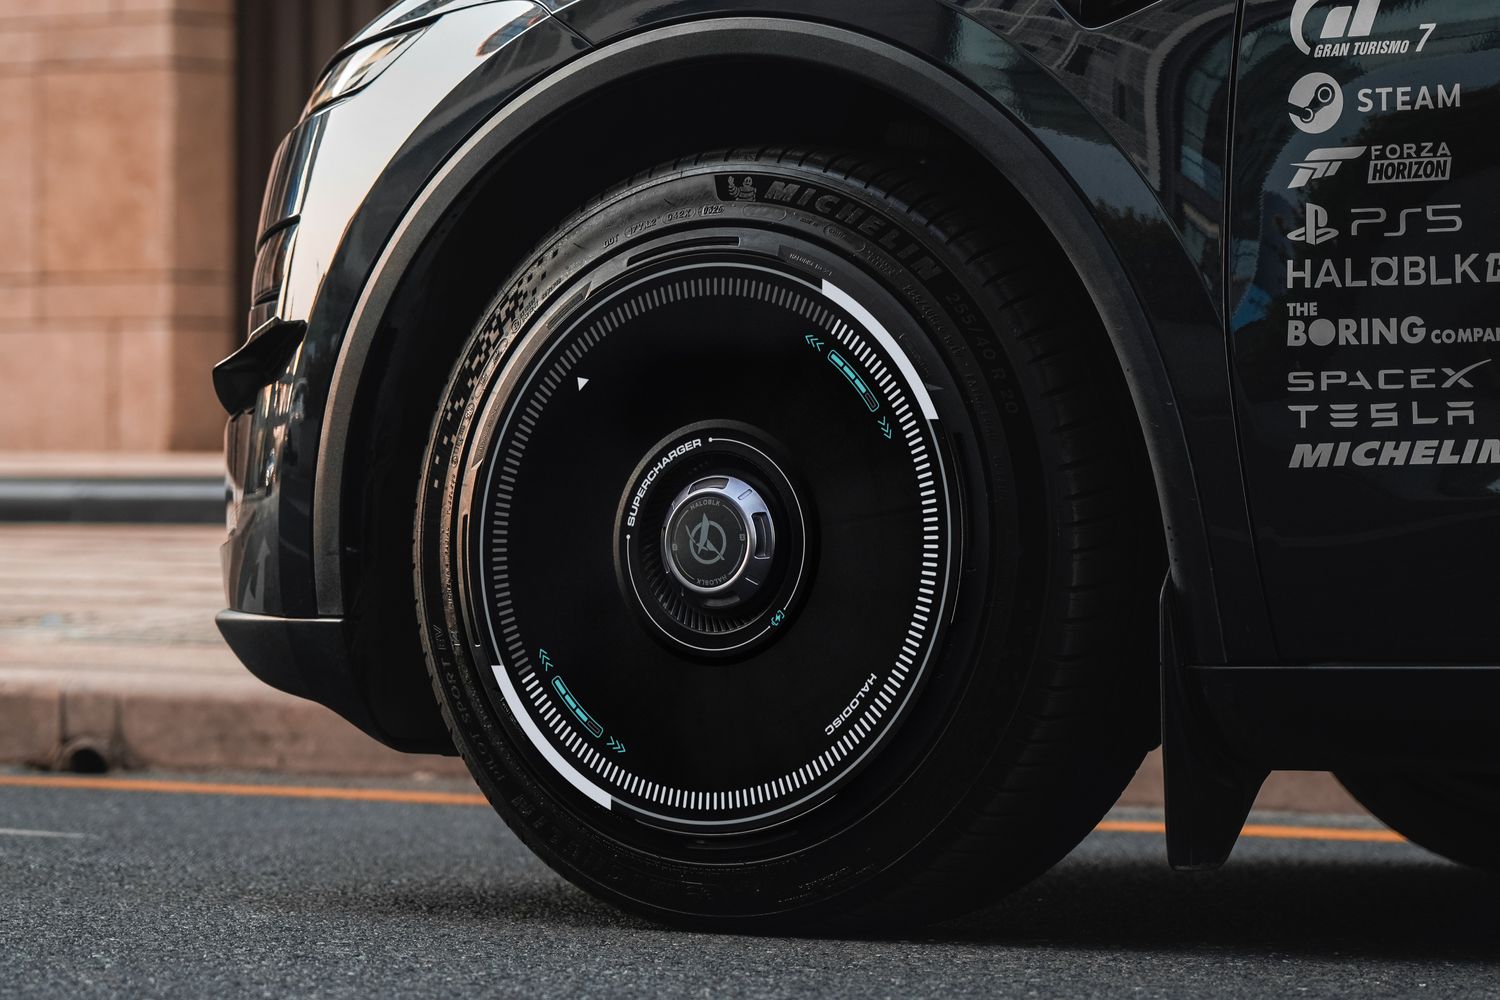
Interested in giving your Tesla a cleaner, more distinctive look? Explore HALOBLK wheel covers designed for Tesla owners who value style, wheel protection, and easy installation.
Find the right design and size for your Tesla in our full collection.
Leave a comment
All comments are moderated before being published.
This site is protected by hCaptcha and the hCaptcha Privacy Policy and Terms of Service apply.