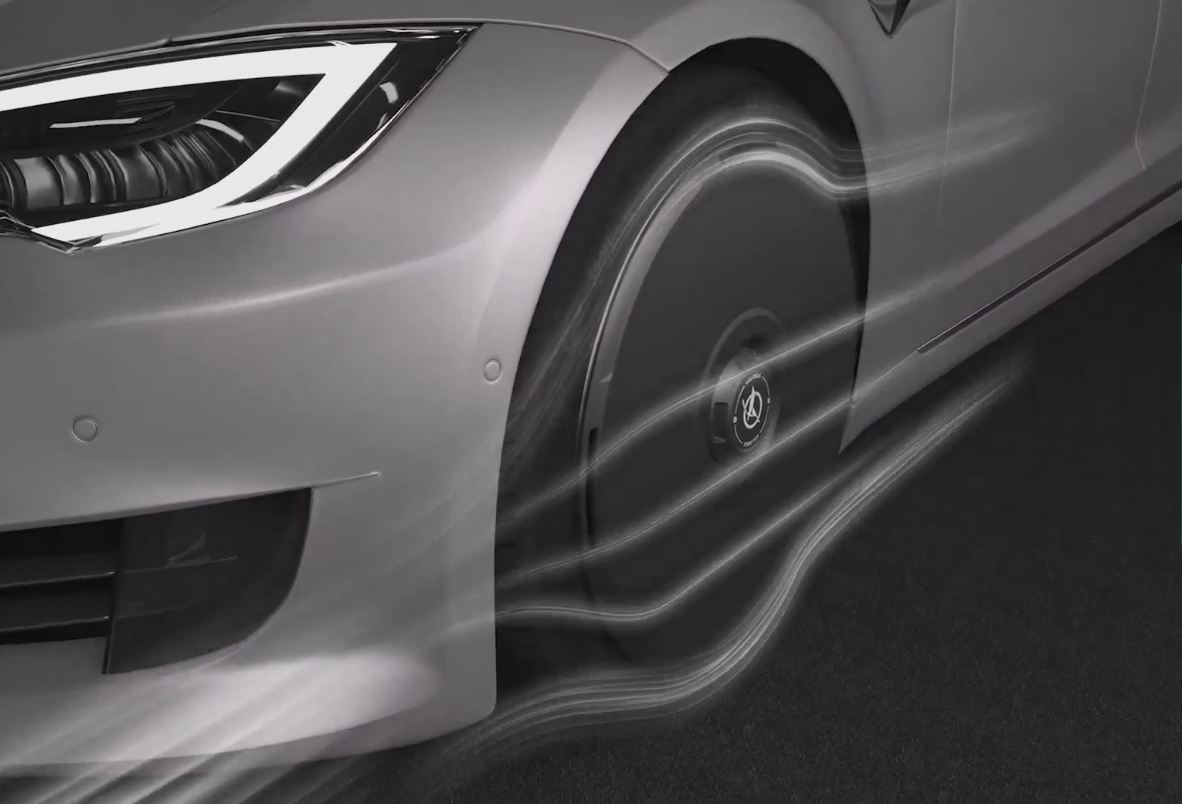
Upgrading your Tesla with a rear spoiler is one of the easiest ways to enhance both aerodynamics and aesthetics. But a poorly executed installation can lead to paint damage, alignment issues, and unnecessary frustration.
This guide walks you through a clean, damage-free spoiler installation — whether you're working with a Model 3, Model Y, or the Highland variant.
Tools & Materials You’ll Need
Before you start, gather the following:
-
Clean microfiber cloths
-
Isopropyl alcohol (at least 70%)
-
Painter’s tape or masking tape
-
Adhesive promoter (optional but recommended)
-
Heat gun or hair dryer (for cold weather installs)
-
Spoiler with pre-applied 3M double-sided tape
Pro tip: Install indoors or in shaded, wind-free areas with a surface temperature between 65–85°F (18–29°C).
Step-by-Step Installation Instructions
1. Clean the Surface Thoroughly
-
Wash the trunk surface and dry completely.
-
Use isopropyl alcohol to remove wax, oil, or residue where the spoiler will be placed.
-
Any leftover contaminants can weaken the bond and cause peeling later.
2. Test Fit the Spoiler
-
Without peeling the tape yet, place the spoiler on the trunk.
-
Adjust until it’s perfectly centered and flush with the trunk contours.
-
Use masking tape to outline the corners and edges as alignment guides.
3. Optional: Apply Adhesive Promoter
-
Wipe the install area with 3M adhesive promoter for maximum bonding strength.
-
Especially helpful in cold or humid climates, or on ceramic-coated surfaces.
4. Peel the Tape Backing (Partially)
-
Peel 1–2 inches of backing tape from both ends, folding it out to the sides.
-
Keep the center section intact for now — this allows easier alignment.
5. Align and Apply Pressure
-
Use the tape guides to align the spoiler.
-
Once aligned, press down the ends where tape has been exposed.
-
Now carefully peel off the remaining tape backing while maintaining downward pressure.
6. Apply Firm, Even Pressure
-
Press across the entire length of the spoiler for at least 30–60 seconds.
-
Apply steady pressure to ensure a full bond, especially at the edges and corners.
Cold Weather Installation Tip
Use a heat gun or hair dryer to warm up the trunk surface and tape slightly. This improves adhesion and ensures the tape activates properly.
After Installation: Cure Time
-
Do not wash the car for 24–48 hours
-
Avoid high-speed driving or extreme weather exposure in the first 12 hours
-
Full adhesive bond sets within 72 hours
Common Installation Mistakes to Avoid
| Mistake | Consequence |
|---|---|
| Applying to dirty or waxed paint | Poor adhesion, spoiler may fall off |
| No alignment guides | Uneven or crooked placement |
| Installing in cold/humid conditions | Weak bond, edge lift |
| Rushing pressure time | Incomplete seal, tape failure |
| Using excessive force or bending the spoiler | Warping, cracking |
Bonus: Professional-Grade Upgrade Kits
Looking for a high-quality spoiler with proper 3M tape and alignment-ready design?
👉 Shop Carbon Fiber Rear Spoiler for Model 3
👉 Shop Carbon Fiber Rear Spoiler for Model Y
👉 Shop Rear Spoiler for Model 3 Highland
Each spoiler ships with factory-applied 3M tape, and fits flush to the trunk — no drilling or guesswork needed.
Final Thoughts
Installing a spoiler on your Tesla is a quick way to enhance both performance and aesthetics — but only if done right. Take your time, follow the steps, and your install will look factory-fresh.
If in doubt, contact a certified Tesla body shop or performance shop for installation assistance.


Leave a comment
All comments are moderated before being published.
This site is protected by hCaptcha and the hCaptcha Privacy Policy and Terms of Service apply.