
If you’re searching for how to remove tesla wheel cap, you’re not alone. Many Tesla owners want to remove the wheel cap, center cap, or aero covers for cleaning, replacement, maintenance, or to install aftermarket wheel covers. The good news is that removing a Tesla Model Y wheel cap is simple, safe, and does not require advanced tools when done correctly.
This guide walks you through the exact steps to remove the wheel cap without damaging the rim, clips, or original hub, and explains common mistakes to avoid.
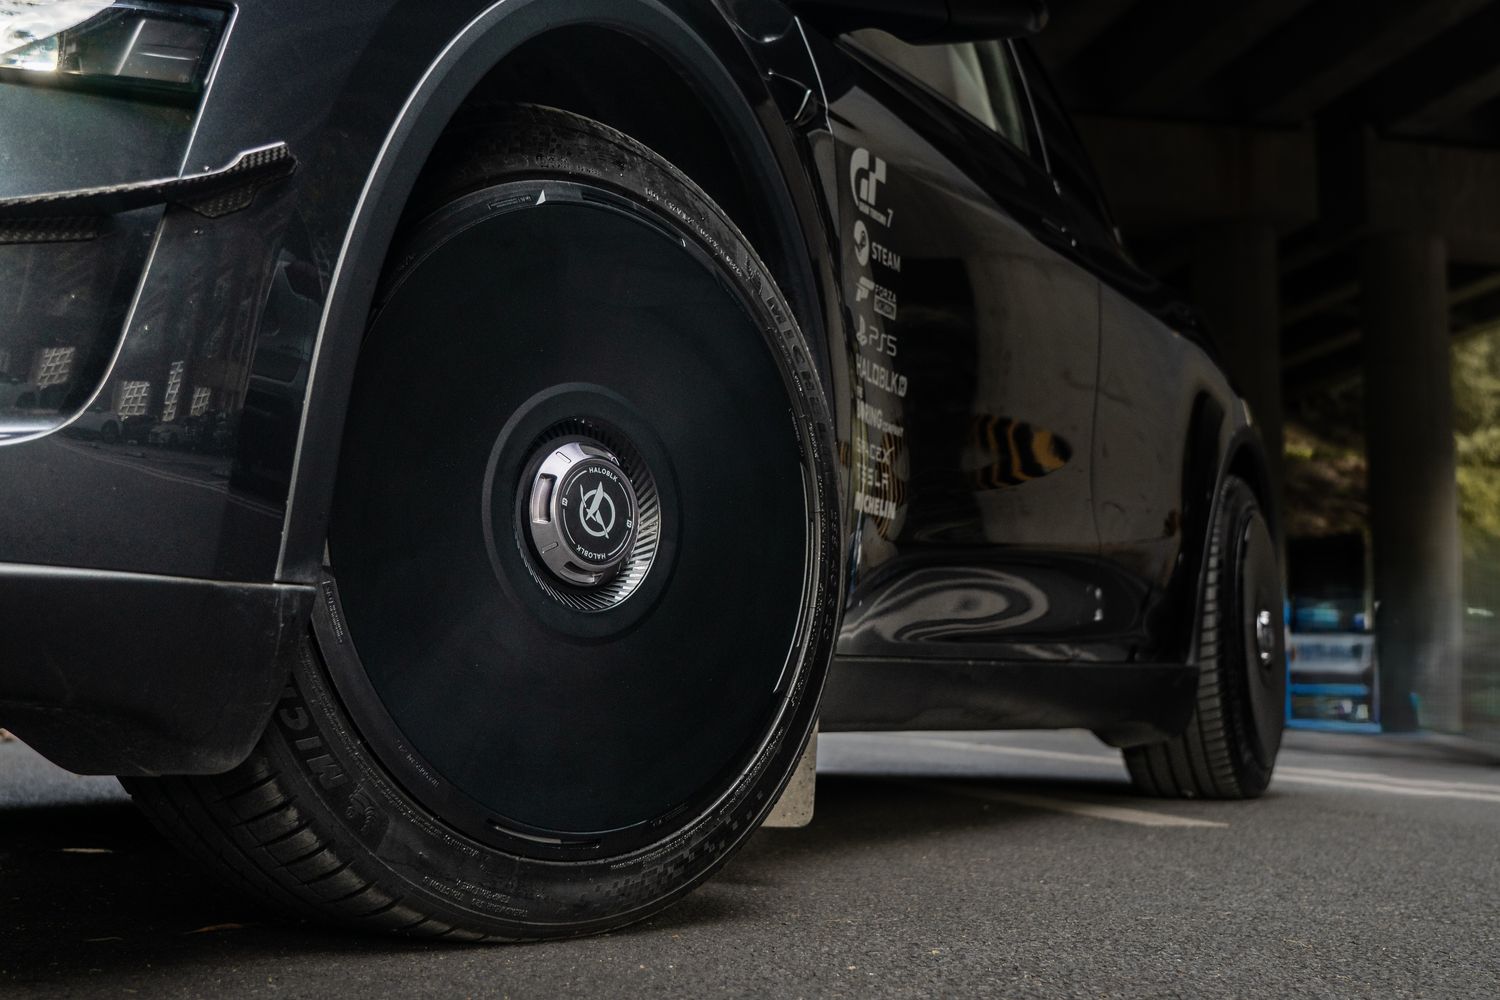
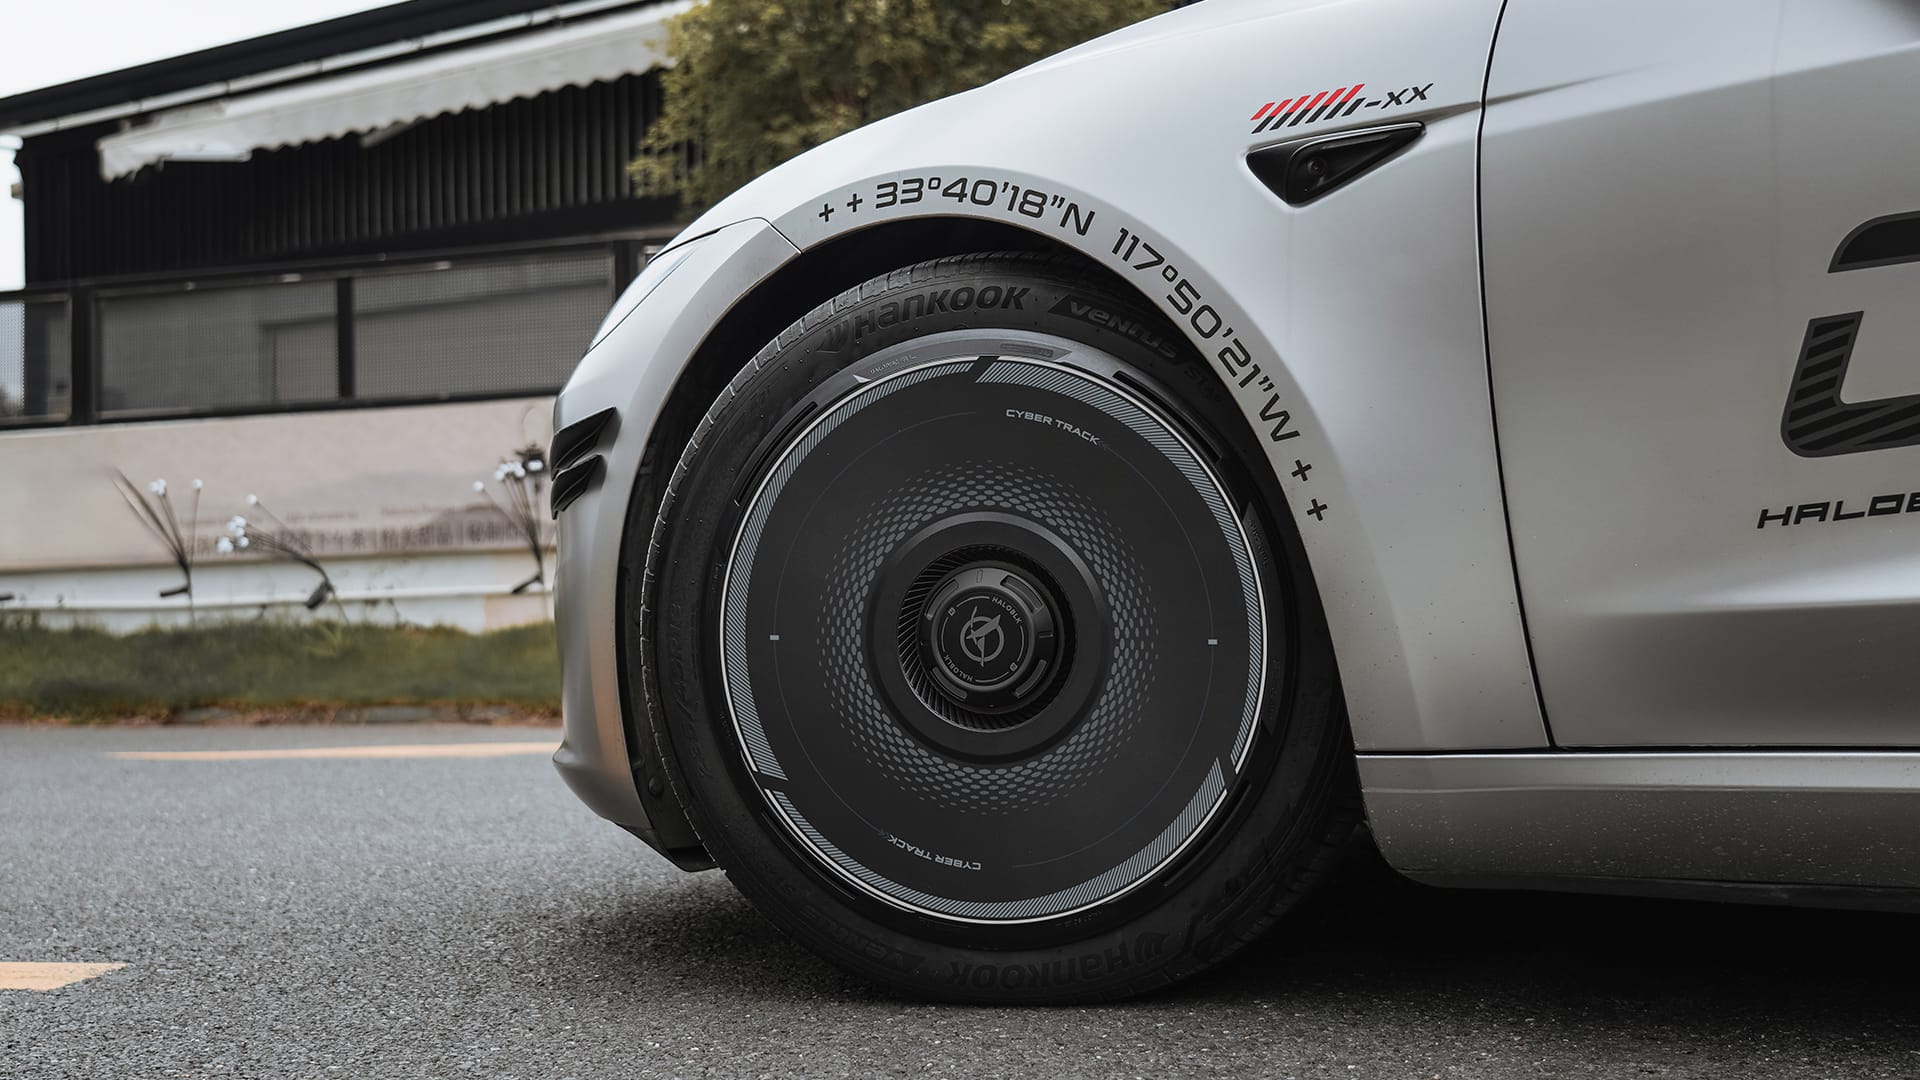
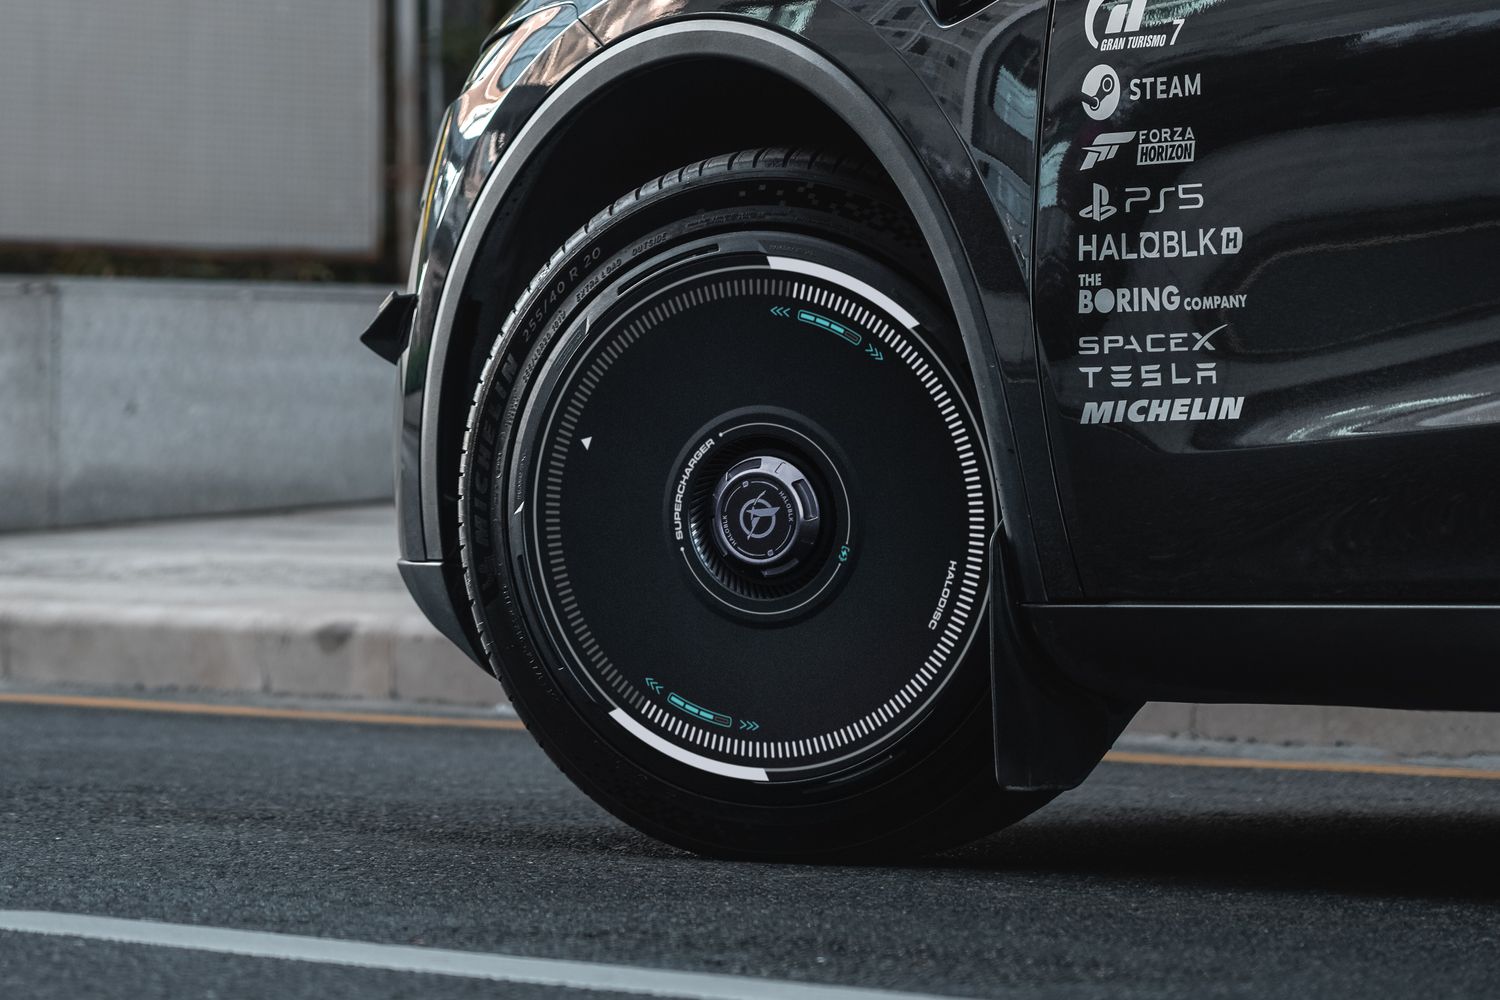
What You’re Removing on a Tesla Model Y
Before starting, it helps to understand the parts involved. Most Tesla Model Y vehicles come equipped with aero wheels and aero covers. These covers snap onto the wheel using internal clips. Underneath the aero cover, you may also see a center cap and lug nut covers depending on whether the wheel is stock or has been modified.
Important note: you do not need to touch the lug nut, use a torque wrench, or remove screws. The wheel cap and aero covers are separate from the lug nuts and are designed to be removed without affecting wheel safety.
Tools You May Need
In most cases, no special tool is required. Tesla designed the wheel cap for easy removal by hand.
Optional tools if needed:
Plastic trim tool or plastic screwdriver
Microfiber cloth or tape to protect the rim
Gloves for grip
Avoid metal screwdrivers whenever possible. They increase the risk of scratching the rim or damaging the clips.
Step by Step: How to Remove Tesla Wheel Cap Safely
Step 1 Park the car safely
Make sure the vehicle is parked on a flat surface, in Park, with the parking brake engaged. This ensures safety and prevents movement while you work.
Step 2 Inspect the wheel cover
Look closely at the wheel cover or aero covers. You’ll notice small gaps near the edge or spoke areas. These gaps are where you apply pulling force.
Step 3 Pull using even pressure
Grip the wheel cap firmly near the edge. Use both hands if possible. Pull outward using steady, even pressure. Do not yank or twist aggressively. You should feel the clips begin to pop free one by one.
Step 4 Listen and feel for clip release
As you pull, you may hear soft popping sounds. This is normal. These sounds come from the clips disengaging. Continue applying even pressure until the wheel cap comes off completely.
Step 5 Remove the center cap if applicable
If your setup includes a separate center cap, it can usually be pulled off by hand as well. If it feels tight, use a plastic tool wrapped in a cloth to gently pry it loose.
Step 6 Inspect clips and wheel surface
After removal, inspect the clips on the back of the wheel cap. Confirm none are cracked or broken. Also check the rim and hub area for dust, dirt, or tape residue.
Common Mistakes to Avoid
Do not use excessive force
Pulling too hard in one spot can create stress on the clips and cause snapping.
Do not pry with metal tools
Metal tools can damage the rim and leave permanent marks.
Do not touch lug nuts
The lug nut and lug nut covers do not need to be removed to take off the wheel cap.
Do not rush
Slow, even pressure prevents damage and makes removal easy.
Cleaning and Maintenance After Removal
With the wheel cap removed, this is a good time for basic maintenance. Clean dust and road debris from the wheel surface. Wipe down the rim edge and hub area. This helps prevent long term wear and keeps everything in good condition.
If your wheel cap uses tape or foam strips, check whether the tape is still secure. Replace it if it shows signs of wear.
Installing or Replacing Wheel Covers
If you plan to install new wheel covers or replace the stock aero covers, confirm compatibility with your Tesla Model Y wheels. Align the tire valve hole, press evenly around the cover, and ensure a secure fit. You should feel the clips snap into place.
No screws or special tools are required for installation.
Why Proper Removal Matters
Removing the wheel cap correctly helps you:
Avoid damage to the rim
Protect the clips for reuse
Reduce replacement costs
Maintain the appearance of your wheels
Prepare the wheel for new covers or cleaning
Many Tesla owners remove their wheel caps after long periods for cleaning or style changes. When done properly, the process is quick and safe.
Final Tips for Tesla Owners
Take your time and use even pressure
Avoid metal tools whenever possible
Inspect clips after removal
Clean the wheel before reinstalling
Store removed caps safely if you plan to reuse them
If you follow these steps, removing a Tesla Model Y wheel cap becomes an easy task that takes only a few minutes and helps you take better care of your vehicle.
If you want, next I can help you add a HowTo structured data version of this article or optimize it for Featured Snippet placement so it performs even better in search results.
Leave a comment
All comments are moderated before being published.
This site is protected by hCaptcha and the hCaptcha Privacy Policy and Terms of Service apply.